M2P Fintech
Fintech is evolving every day. That's why you need our newsletter! Get the latest fintech news, views, insights, directly to your inbox every fortnight for FREE!
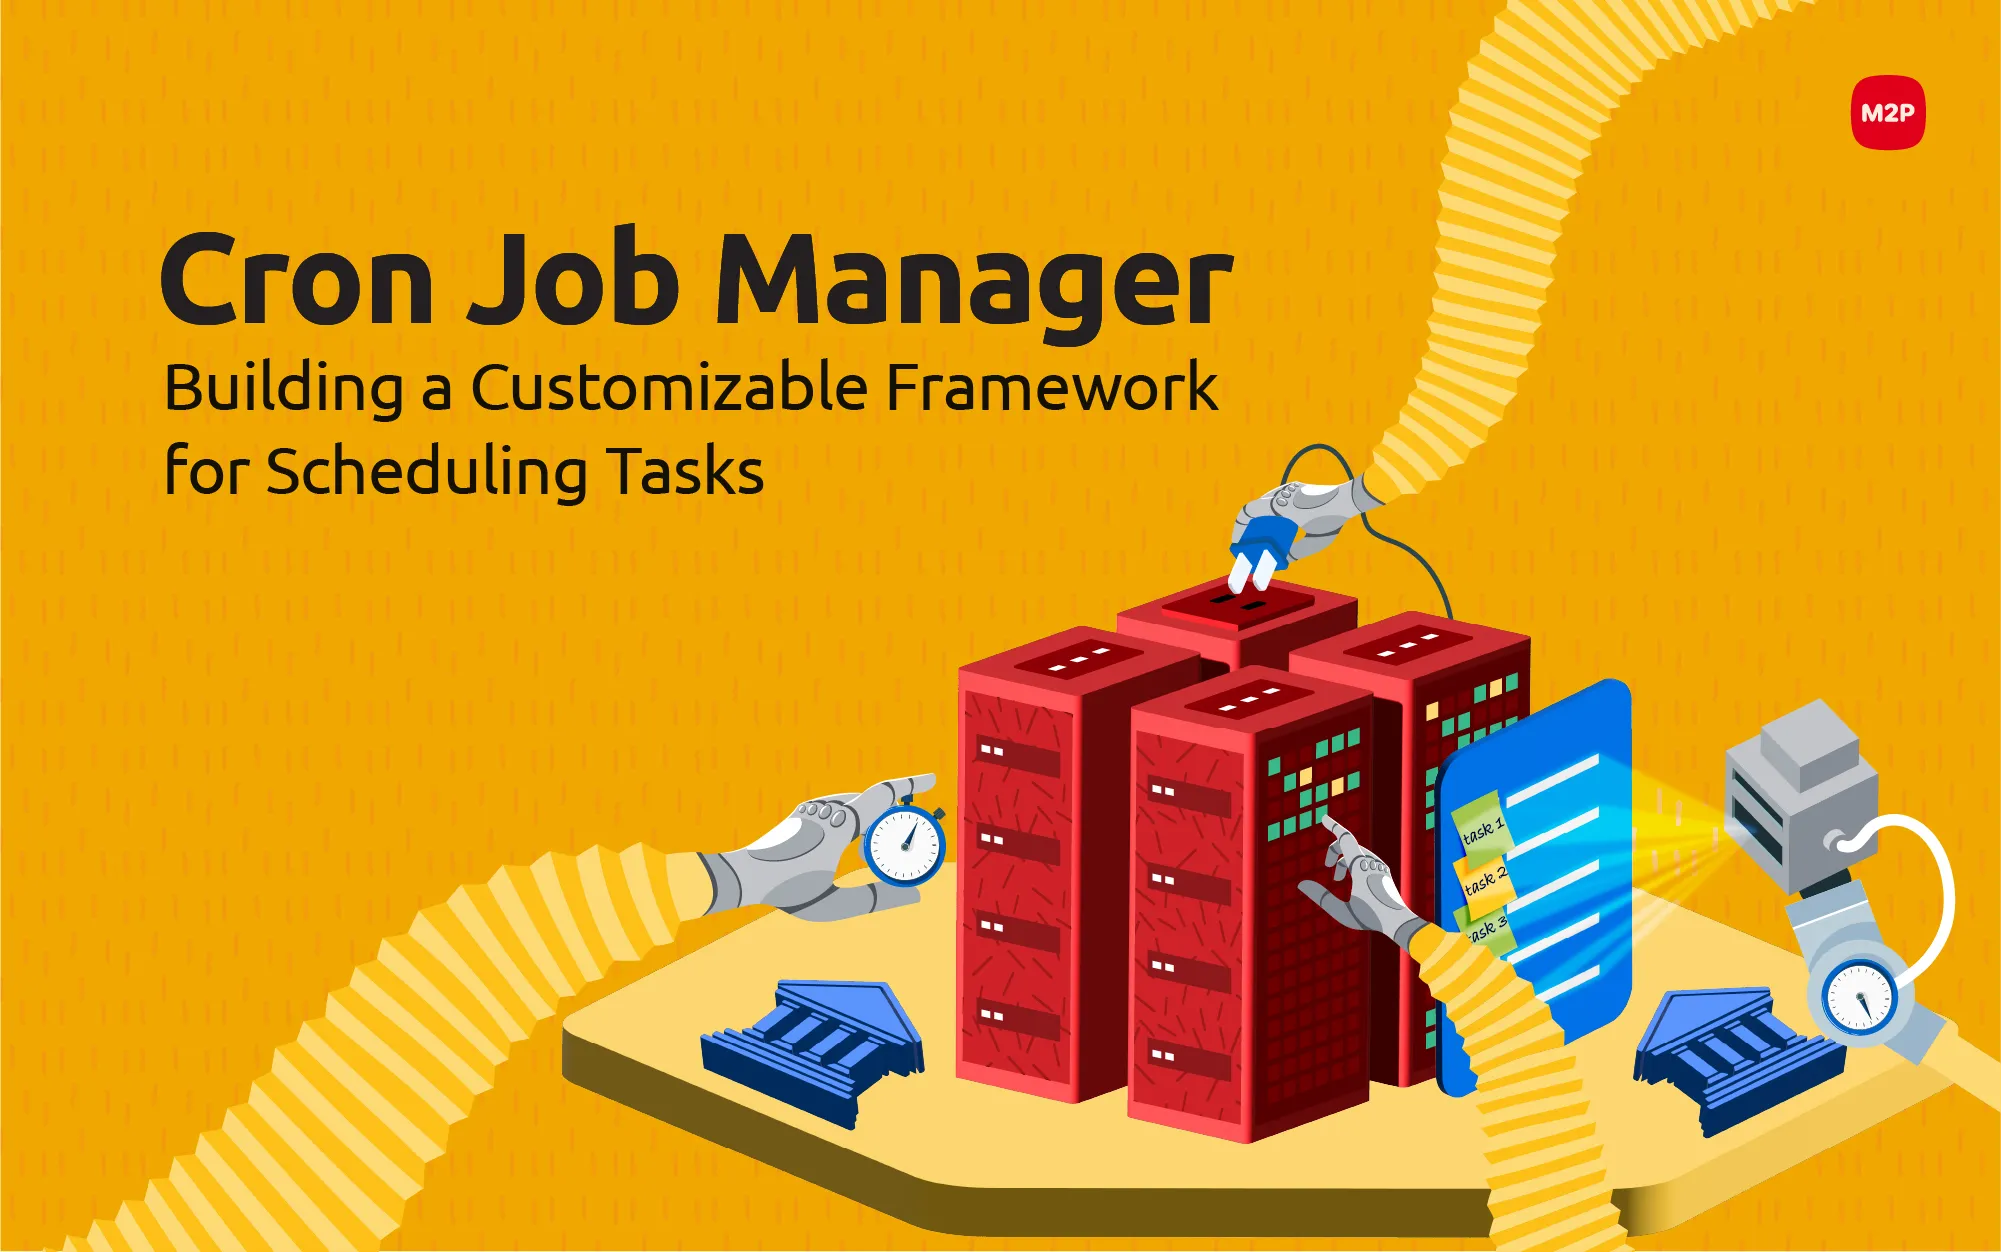
Developing a scheduling framework is not an easy feat to achieve.
That’s why we got our Software Development Engineer, Pratik Jain, to share his experience and expertise in developing an advanced, customizable, and flexible Cron job manager for scheduling payment settlements.
Let's dive into what Pratik has to say about building a Cron Job Manager from scratch using node.js.
As a new hire at my organization, my manager Mohit (VP - Engineering at M2P) decided to put my skills to work right from Day 1. My task was to find something similar to Quartz job scheduling framework in Java for node.js, and if nothing existed, we would take a call on whether to build one from scratch or write a wrapper around any existing solution.
Merchant Acquiring is a product we usually work on. To explain in simple words, whenever you make an online payment at an e-commerce website, the bank handling the transactions for that Ecom is called the Acquiring Bank. Banks do not want to build this entire Merchant Acquiring technology by themselves, that is where we come in, and we build a complete suite of features around Merchant Acquiring for the banks. Starting from Onboarding, Transactions, Settlements, Refunds, and Disputes, we are capable of doing anything related to Merchant Acquiring.
We run multiple cron jobs for various activities to keep everything in order. A few examples would be settlements, checking payment status, closing pending orders, and sending dispute reminder emails to the merchant - the list is endless. With these many core functionalities at stake, we want something foolproof. Something that will touch all bases without compromising the quality and quantity of both features.
After clearly understanding the need for a cron job manager, I began researching existing cron scheduling frameworks in node.js.
We were looking at the following features,
Schedule jobs and triggers
Database storage and control for jobs and triggers
Customize cron expression and status on runtime
Customize trigger status on runtime
Have a function registry that will take care of finding the correct function to execute in the code
Customize function arguments
Trigger collision avoidance
Tenanted Connection
Let us try to understand why we need a tenanted connection.
SaaS software follows a strategy where they can use the same infrastructure and share this resource among multiple clients by creating separate databases for each partner/tenant. This is called multi-tenancy. It is basically a logical isolation of the database for each partner. Our acquiring product has a similar use case where all the data for a particular partner is stored in their database but on the same infrastructure. This architecture would hold true in other products in M2P and across the globe as well. Keeping this in mind, we wanted the scheduling framework to support multi-tenancy.
Here is what we found after 20 hours of intense research by reading documents on 3 different and widely used scheduling frameworks in node.js
Existing job scheduling frameworks vs. M2P Job manager

This is the kind of capability we were trying to build. The core problem we identified in all the existing job schedulers was that the jobs were either created in memory or the database; none of them creates triggers for each job in the database, i.e., save single instance in time of the scheduled job. So, we have no control over the core feature we were trying to build — Creating triggers based on the job expression. So, we decided to take the matter into our own hands — create a new framework.
Customization and flexibility are the core reasons for creating a new cronjob framework. We call it Job Manager internally.
Cron Job Manager Workflow

The Cron Job Manager has 2 primary flows:
Creating and Updating Jobs in the Database: There is an API endpoint for creating and updating jobs in the database. It follows the most common node.js Controller pattern and Mongoose. We like to follow KISS (Keep It Simple, Stupid) principle here at M2P. We pass the connection function right from the router level down to the service level, and a database connection is built at the service level. The APIs format can be provided by importing CronRoutes class from the Job Manager.
new CronRoutes('/api/v1/jobs', connectionFunction, expressApp)
Sample API Contract and Payload for Creating Jobs:
POST {BASE_URL}/jobs/create
{
"name": "settle-merchants",
"status": "created",
"functionName": "settleMerchants",
"timezone": "Asia/Kolkata",
"expression": "* * * * *",
"functionArgs": {
"merchantName": "ABC Ltd.",
"settlementAmount": 1000.25
},
"startDateTime": "2022-01-17T18:49:00"
}
With the above payload, we have the following configurations under control. Let me explain each one of them:
name: Name of the job
status: The initial status for each job is “created”
functionName: The name of the function in the codebase that you want to execute via cronjobs.
timezone: We can make our crons run at any timezone we want. The cron expression you specify will be scheduled according to this time zone
expression: This is the cron expression. In this example, it will schedule this job every minute.
functionArgs: Takes in any function args you want at runtime for your scheduled function to pick.
startDateTime: Schedule jobs from a certain point in the future. The triggers will get created according to the expression after this time.
This entry will be created inside {database}/jobs. We have used MongoDB as our database.
Once the job is created in the database, the job manager picks all the jobs in the created status via Create Manager Task and marks them as active after creating 10 triggers for each job in the database. These triggers stay in the created state till they are picked by the Scan Manager Task and start scheduling these triggers in the server.
This is how the trigger collection looks like:
{
"name": "settle-merchants-trigger",
"scheduledAt": {
"$date": {
"$numberLong": "1676455500000"
}
},
"status": "created",
"functionName": "settleMerchants",
"timezone": "Asia/Kolkata",
"jobId": "63bc995344b57700090b01204"
}
PUT {BASE_URL}/jobs/update/{{jobObjectId}}
{
"expression": "*/2 * * * *"
}
The above PUT endpoint will update the cron expression for a particular jobID. The status of this job will be changed to updated, all the previous triggers for this job will be canceled, and new triggers will be created.
Register and Start Manager - The developer should register the functions he wants to schedule using JobManager.register('functionName', function). This will add the function in a key-value map called JobCallbackKeyStore which will be used when scheduling the triggers. The developer will specify all the job details for this function while creating the job using the API provided above.
The developer will start the manager and pass the connection function (the database that the models should connect to for accessing jobs and triggers) by using JobManager.start(<dbConnectionFunction>, createManagerTaskTime, scheduleManagerTaskTime).
Job Manager has 2 asynchronous tasks—create-manager-task and schedule-manager-task. These 2 tasks are run using Toad Scheduler, an npm package for scheduling jobs every X seconds/minutes/hours/days.
create-manager-task executes every 30 minutes. It is responsible for 2 things:
Creating initial triggers for jobs in the created state in the database
Creating subsequent triggers for already active jobs with < 3 triggers in the created state for that job. It executes every 30 minutes.
schedule-manager-task executes every 5 minutes. It is responsible for 5 things:
Schedule Triggers in memory using the Node Schedule npm package
Delete Jobs in memory for the jobs marked in delete status in the database and cancels all triggers under that job
Cancel Triggers set under cancel status in Trigger Collection in the database
Scan for Updated Jobs by looking for the Update status in the job collection. The job is in update status if any of the data is updated after the job is created/scheduled. All the triggers scheduled for this job are canceled and rescheduled when the job manager encounters an updated job
Scanning for the collection being dropped altogether. In this case, all the triggers in the memory are canceled
All these operations happen via the Services written for Cron and Trigger. The connection function is resolved at the service layer, and the manager looks for the db connection and does all the operations for that db only.
Job Status valid values:
const CRON_STATUS = {
created: 'created', // when user creates cronjob in the db
active: 'active', // when cron manager picks the cron, and adds 10 triggers to that cron
updated: 'updated', // when cron data is updated via API or via DB, and all the triggers already scheduled needs to be cancelled and rescheduled
delete: 'delete', // when user wants the cron to be deleted and all triggers cancelled inside it
cancelled: 'cancelled' // when cancelling all triggers operation is successful
}
Trigger Status valid values:
const TRIGGER_STATUS = {
created: 'created', // when created initially under a job
scheduled: 'scheduled', // when picked up by the job manager and scheduled
errored: 'errored', // when error is thrown while executing the scheduled function
running: 'running', // when running at the scheduled time
skipped: 'skipped', // when a trigger for same job is already running, trigger is skipped
completed: 'completed', // when scheduled trigger is done running
delete: 'delete', // when user updates the trigger to be deleted
cancelled: 'cancelled' // when scheduler cancels/deletes the trigger successfully
}
The core problem we solved was creating jobs and triggers for each job in the database.
We have 2 collections in the database for this purpose — Jobs and Triggers. We created two scheduling layers instead of one.
Functions of each layer:
Scheduling Layer 1— used for scheduling 2 async tasks of the job manager responsible for scanning the database for jobs and triggers status and changes.
Scheduling Layer 2— used for scheduling the triggers to be executed themselves.
Detailed solutions for each of the problems identified in the section above:
Database Querying for job/trigger status: The Job Manager handles this with its scheduling layer 1, which scans every X minutes and takes action based on the status of the job
Configure job expression/function name/function args in the database directly: We can edit the data for the job in the database directly and set the status as “updated” so that the scanner picks it up. Then it cancels all the created and scheduled triggers and reschedules them according to the updated configuration.
Configure job/trigger status in the database directly: We can edit job and trigger status directly. Any job with a delete status means the user wants to cancel all the triggers for that job. We can do the same for any trigger. We can put any trigger in cancel status. The Job manager will cancel only that trigger and the subsequent triggers will remain unaffected.
Register functions: The problem was that we wanted a job capable of changing the function it was executing at runtime. We created a map of CallbackKeyStore for this purpose which has a map of unique-function-name as the key and the function itself as the value. When creating the job in the database, the user needs to mention this key name as the functionName parameter in the payload.
Pass function arguments for all the registered functions: This allows us to not only pass the function names to be configurable, but we can also make the arguments we pass to any functions to be defined in the database directly. The job manager reads the functionArgs key and passes its value as parameters to the scheduled function.
Avoid trigger collision— 2 triggers of the same job should not be executed together. We follow an event-based architecture to prevent this from happening, which helps us maintain an in-memory map called currentlyRunningTriggers. Before executing any scheduled function, we check if any job with that id already exists in that map in a running state. If not, then we trigger an event called running. The eventEmitter catches this event, and this job is added to the currentlyRunningTriggers. After executing the function, we remove the job from the map.
Provide Tenanted Database connection: We let the user pass the connection Function used to connect to the database. The database connection function is passed on to the service layer, where all the CRUD operations with the database are written. Finally, we use that connection to build models and query our database.
Besides all this, we have added Graceful Shutdown and Event Driven trigger status updates like running, completed, skipped, errored for more visibility on what is happening at a trigger level. Graceful Shutdown ensures that the pod is alive for x seconds provided by the developer, completes the currently running triggers, and only then lets the pod go down.
clearJobManagerResources(gracefulTimeoutInSec, runningMapIntervalInSec)
The above API can be used from an instance of Job Manager. runningMapIntervalInSec is used for configuring the time interval between checking the map size, which stores the currently running map of triggers. Once all the running triggers are over, the job manager’s resources are cleared, and the pod is shut down.
The Job Manager npm package is completely modular and ready to use with anyone using MongoDB as their database.
Final words:
The immediate future scope is to add multi-pod configuration to the job manager so that multiple pods can manage jobs without concurrency issues across different pods.
If you want to know more about how we built the scheduling framework from scratch, write to us at business@m2pfintech.com!
This article is authored by Pratik Jain.
Subscribe to our newsletter and get the latest fintech news, views, and insights, directly to your inbox.
Follow us on LinkedIn and Twitter for insightful fintech tales curated for curious minds like you.


Fintech is evolving every day. That's why you need our newsletter! Get the latest fintech news, views, insights, directly to your inbox every fortnight for FREE!